The best hikes in Zion National Park are the ones that get you out into the stunning wilderness of Southwestern Utah…and that is every hike listed below. There are tons of options for hiking in Zion…which is why it’s one of my favorite destinations to include on a Utah national parks road trip. Whether you’re interested in a languid stroll or a strenuous workout, I have a bucket list hike just for you!
Zion National Park is one of Utah’s most popular outdoor parks. Located at the edge of the area known as the Colorado Plateau, the steep red cliffs stand sentry above the forested green valley below as the majestic Virgin River cuts through the middle.
The geology in Southwestern Utah is particularly fascinating. The rock layers create an ever shifting palette of colors ranging from lime green and pale pink to deep orange and red. In fact, the bottom layer at Bryce Canyon is the top layer at Zion…and the bottom layer of sandstone at Zion is the top layer at Grand Canyon. Nature is wondrous.
This was my third visit and I loved exploring so many new Zion day hikes. Read on for some of the best of the best in the park.
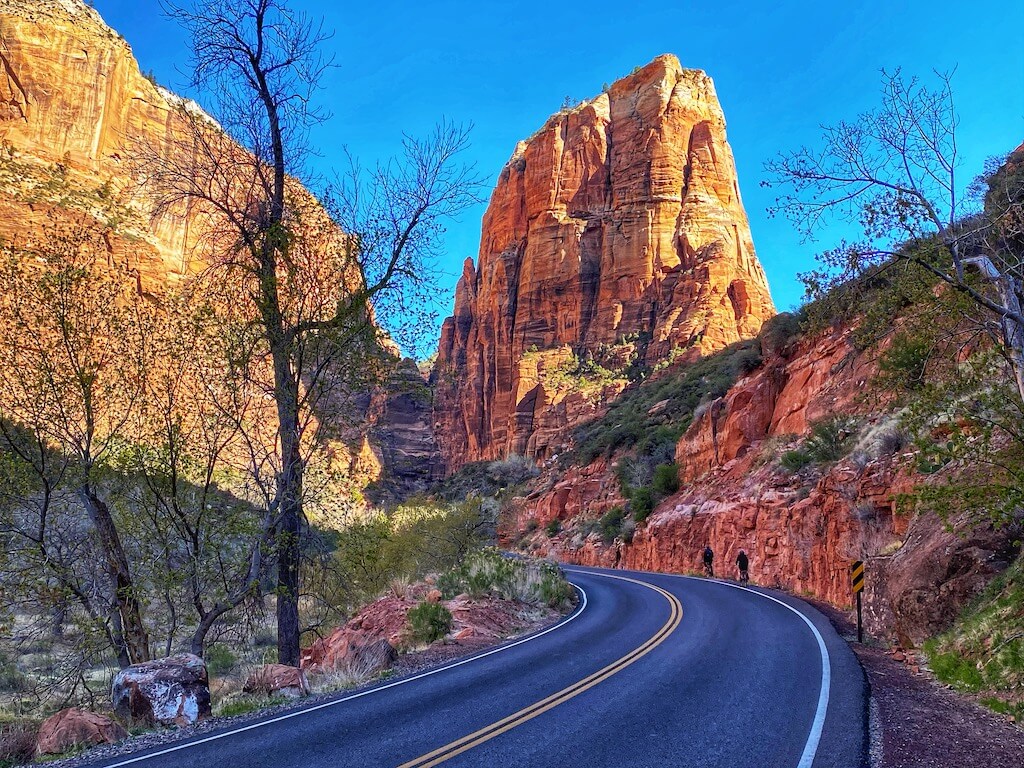
Best Hiking in Zion National Park
1. Canyon Overlook Trail
Distance: .9 miles (1.5 km) out and back with a 390 ft (119 m) elevation gain
Difficulty: Moderate. Takes approx. 1 hour.
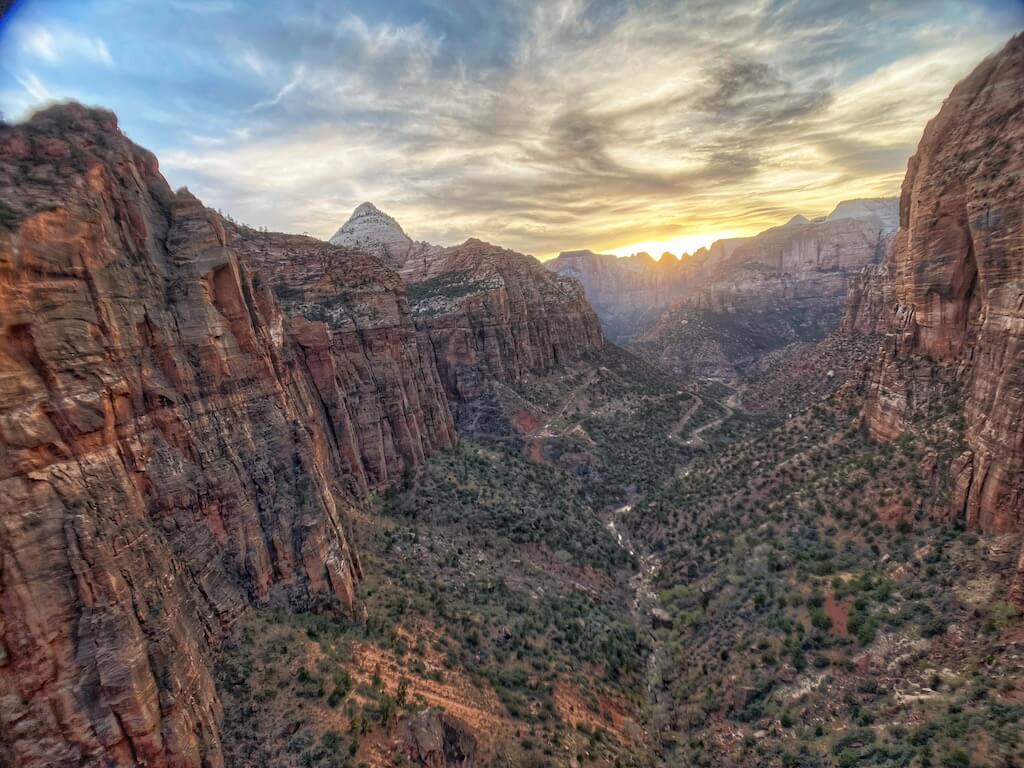
Description: This is definitely one of the best hikes at Zion! It’s also the ideal sunset hike for those who love canyon views but aren’t up for navigating the famous—and more treacherous—Angel’s Landing hike.
If you’re coming from inside Zion National Park (as opposed to coming from points north of the park) you’ll need to pay the $35 per vehicle to access this east area of the park as you come through the Mount Carmel Tunnel. Unfortunately, no shuttles stop here so you’ll need to drive.
The good news is that driving this scenic road is worth paying for…whether you’re hiking or not! And if you’re looking for a way to access hikes in the park without a shuttle pass, this makes a great option.
Park in the small lot just after you come through the tunnel (or on the side of the road if it’s full) and then ascend the trail on your right. You’ll wind your way up the stone steps as you ascend to the ridge with the incredible canyon views below.
This is a moderate trail—mostly flat-ish after the initial ascent—that makes its way along a narrow path through shady trees. There are plenty of steep drop-offs along the way—so keep an eye on children—but there are also plenty of handrails to make it feel safe for those with a fear of heights.
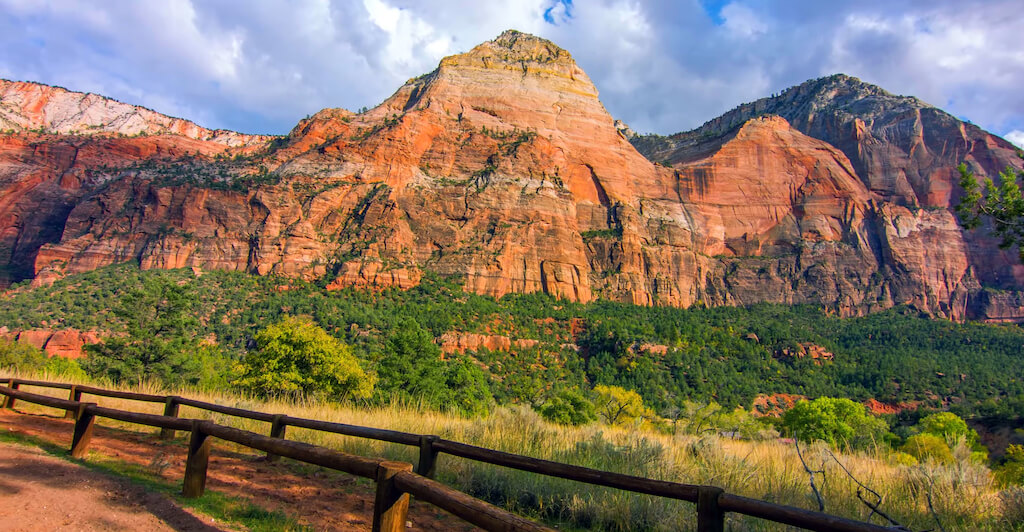
The pay off? Arriving to an incredible view of the canyon, including Streaked Wall, Beehives, and the West Temple.
Tip: Arrive early for sunset! This is a popular hike so parking can be difficult to find and it’s not as fun fighting crowds to the top.
2. Emerald Pools
Distance: At just under 3.1 miles (5 km), this hike is decently easy to manage although not suitable for complete beginners, making it one of the best hiking trails in Zion National Park for those looking for a big pay-off for their effort.
At an elevation gain of 623 feet (190 m), parts of it are quite steep so make sure you wear sturdy shoes and bring lots of water.
Difficulty: Easy to moderate (depending on whether you are going to Lower or Upper Emerald Pools.) Takes approx. 1 hour.
Description: Located in the heart of Zion National Park lies the Emerald Pools Trail which is an absolute must-do for visitors coming to the area.
This is a loop trail so it’s perfect for an early morning or afternoon hike. The trail is quite popular so it can get crowded during the summer months when the area experiences a rise in tourism.
The hike begins at the Zion Lodge and leads to the impressive Emerald Pools and waterfall. The water has a beautiful turquoise colour and the pools are stunningly beautiful.
Continuing the extra 200 feet to the upper section of Emerald Pools is moderately strenuous but worth it for the even more beautiful pools.
Tip: Definitely make sure to pack your camera for this hike, it’ll be worth it!
Victoria | Guide Your Travel
Advance Shuttle Tickets No Longer Required
As of May 2021, Zion National Park is no longer requiring advance reservations for its in park shuttle system. However, they are giving priority to tickets purchased in advance.
It’s not possible to drive the Zion Canyon scenic drive (the main road in the park) by private car to access hikes and viewpoints between March and November so this is key. (Canyon Overlook trail is an exception, however.)
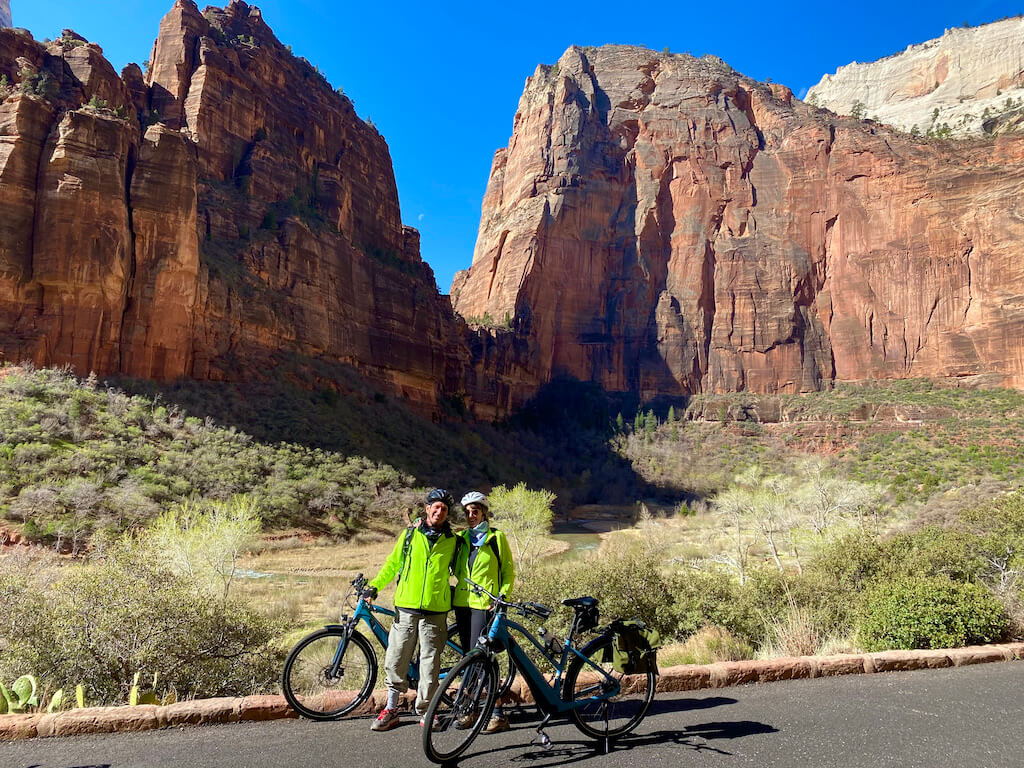
Alternatively, consider renting an e-bike in Springdale (reservations also recommended). It’s a fantastic way to skip the wait with the cars mobbing the entrance.
We brought our bikes from home for our Southwest parks tour and Zion was our favorite place to ride. There’s also a shared use paved path along the river part of the way if you’d prefer not to ride on the road.
You’ll only share the Scenic Highway with the shuttles. Plus, there are handy places to lock your bikes for hikes at each shuttle stop.
3. Angels Landing Trail
Distance: 5.4 miles (8.7 km) round trip. Elevation gain is 1488 feet (453 m). It takes an average of 4 to 5 hours to cover the entire distance there and back.
Difficulty: Strenuous. Takes approx. 4 hours.
Description: Due to the breathtaking views that are along the entire length of the Angels Landing hike, it is widely regarded as one of the most beautiful hiking trails in the entire United States as well as one of the top hikes in Zion National Park.
And this is true. So, it’s also trendy (and crowded), especially during the summer season.
The trail starts in the valley at the Grotto Trailhead bus stop. It immediately crosses the bridge to the other side of the Virgin River and turns right to the north as it gradually ascends to the shady and cool Refrigerator Canyon.
From there, a series of short and steep bends known as the Walters Wiggles lead to the pass known as the Scout Lookout. This section, although relatively steep, is not technically difficult.
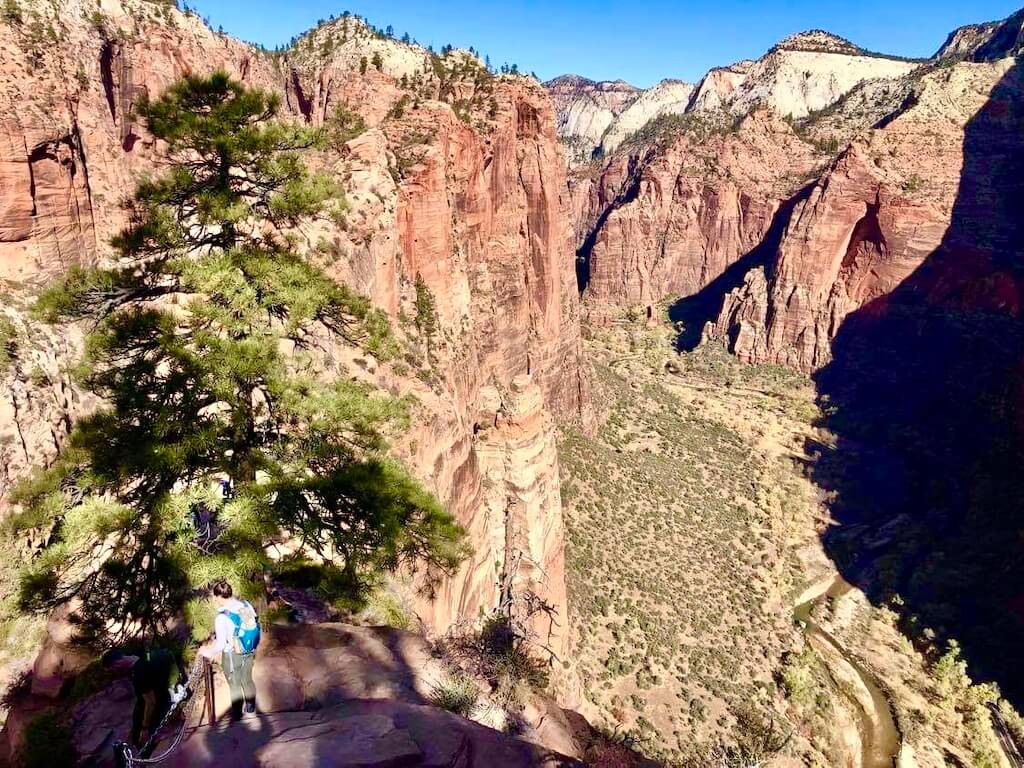
The last part is strenuous. It continues along a precipitous ridge and is secured in many places with chains. This section’s difficulty is rated 3 on the American Rock Road Difficulty Scale, which means that it requires climbing with hands. The path is sometimes extremely narrow, with chasms on both sides.
Good hiking boots with perfect grip are a must. It’s also important to have sun protection and pack a lot of water and some snacks. After the steep ascent and the even more difficult descent, it is worth stopping for a longer rest at Scout Lookout to enjoy the views.
Tips: This is not a trail for people with a fear of heights or small children. It is worth starting the trek early in the morning to avoid the queue in the difficult and steep climb to the top.
Agnes | The Van Escape
Where to Stay in Zion National Park
Option 1: Inside the Park
The best thing about staying at Zion Lodge is that you won’t have to fight the traffic to get into the park for an early start hiking. Rooms are small but the restaurant is fantastic.
Check price and availability at Zion Lodge here.
Option 2: Stay in Springdale
The Rose Cottage, a charming, light-filled retreat right on Main Street is well-loved by park visitors. Plus, it’s just 2 minutes to the entrance!
Check price and availability at The Rose Cottage here.
4. The Narrows
Distance: It is possible to hike The Narrows Top Down, where you get dropped off at one end, hike the entire slot canyon, and camp overnight along the way.
This is 16 miles (25 km), with an elevation change (loss) of 1,600 feet (487 m). Most people, however, hike The Narrows Bottom Up as an out-and-back day hike.
Difficulty: Strenuous. Takes approx. 8 hours.
Description: From the start to the Wall Street section, which is the most common place to turn back, is 3 miles each way. It is possible to make it to Big Springs and back in a day. This is 5 miles each way. The Bottom Up elevation change is about 400 feet.
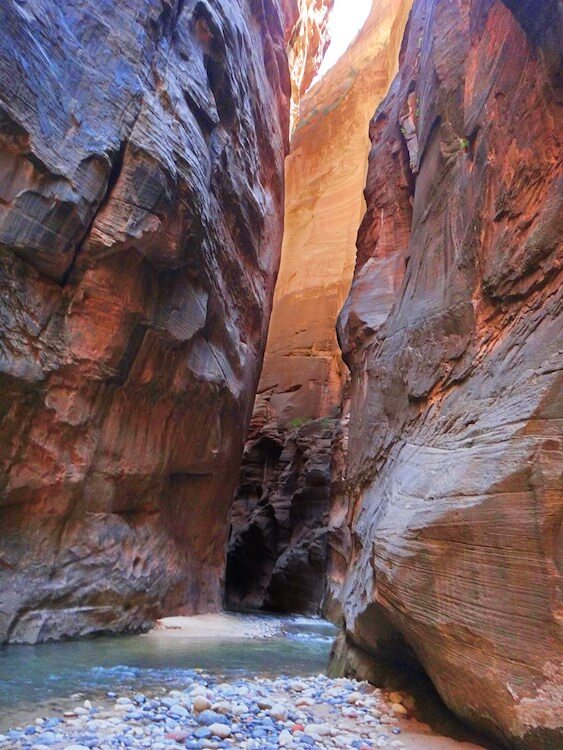
The Narrows is one of Zion’s most famous hikes because the trail is a river. Not beside a river…in the actual river. The hike progresses through an incredibly narrow slot canyon, where the walls are only a few yards apart, and a hundreds of feet tall.
You wade in knee- to chest-deep water most of the time. In reality, there are narrow pebbly or sandy shore sections scattered along the way, so hikers spend most of the time crossing from side to side, as they progress through the canyon.
The trail starts at the end of the River Walk (see below), which is a flat one-mile, paved walk from the last shuttle bus stop. The canyon soon starts to narrow.
Keep an eye out for Mystery Falls, a small waterfall not too far in. Next up is Narrows Alcove, a large overhang that creates a tunnel-like effect. You will eventually come to the most famous section: Wall Street.
Here, the canyon is only about 20 feet wide and about 1,000 feet tall. It is a truly amazing experience! This is a popular place to find a small beach, have lunch and then turn back, although you can continue another couple of miles to Big Springs.
The trail is closed when the water level is too high or if there is a risk of flash flooding, so always check with the National Park Service before heading out.
Fall is considered the best time to hike The Narrows, since the water levels are lower, the water is warmer, there are fewer people, and the chances of flash flooding are lower.
While it is possible to hike in regular clothes, the water is very cold, so it is strongly recommended to wear waterproof pants, which you can rent in nearby Springdale, and closed toe shoes. The riverbed is uneven and pebbly and the river flows steadily, so a stick to stabilize you is also strongly recommended.
Tips: The hike does get crowded in summer, but if you set out early in the morning (try to take the first shuttle bus), you will have the canyon to yourself for most of the day.
If you decide to hike Top Down, you will need a special permit, but no permit is required for the Bottom Up day hike.
James | Parks Collecting
5. Riverside Walk Trail
Distance: 1.9 miles (3 km) out and back, just 193 feet (59 m) of elevation gain
Difficulty: Easy. Takes approx 1.5 hours.
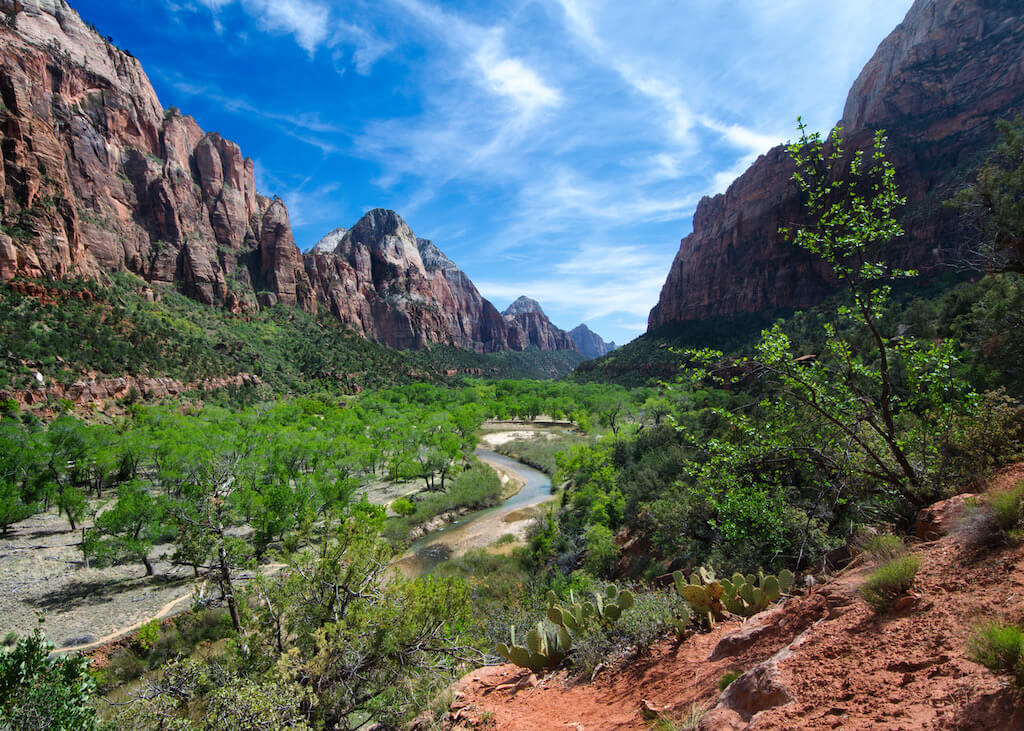
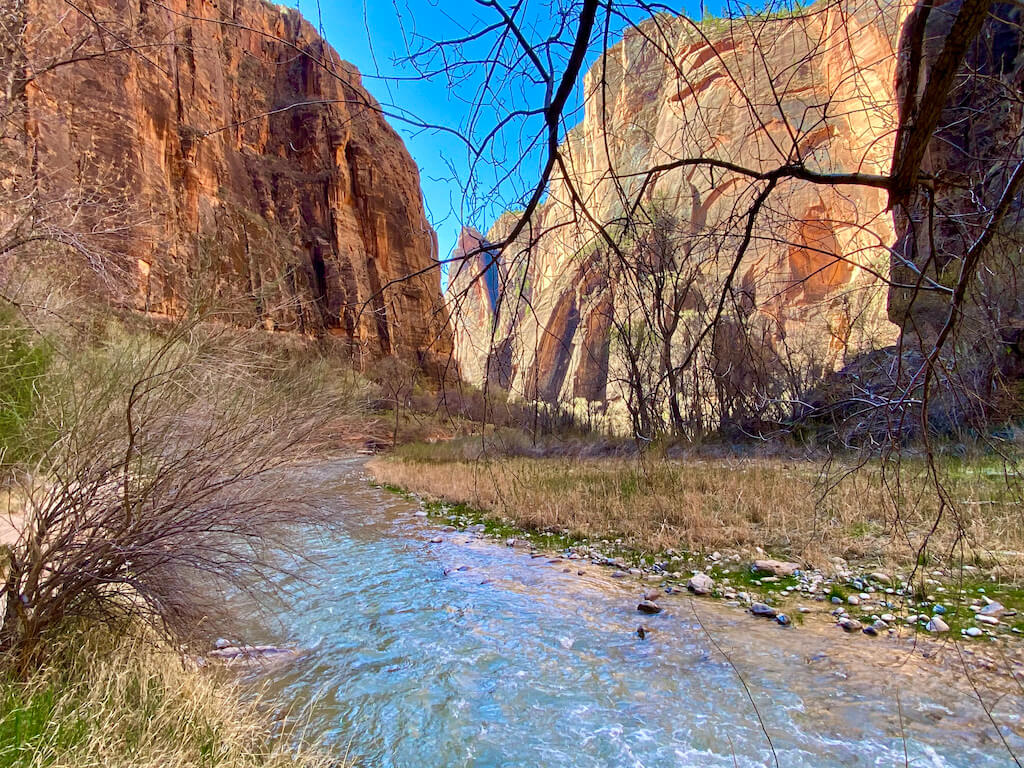
Description: If you’re not ready to commit to The Narrows hike above, you can still enjoy some of the epic views of Zion’s scenic Virgin River as it cuts through the stunning canyon on this easy riverside walk.
Similar to other hikes in the park, you’ll need to plan on walking, cycling, or shuttling to get here as no private vehicles are permitted on Scenic Drive (the main road in the park) between March and November as noted earlier.
This easy hike begins at the shuttle stop 9 (Temple of Sinawava) which is located at the end of the Scenic Highway. From there, you’ll make your way along a concrete path between the Virign River and a steep canyon wall. (Side trails along the river make a nice alternative for strolling in more solitude.)
Watch for Great Blue Herons, mule deer, and squirrels near the river as you meander along to the stairway to the Narrows. (This is the entry point for beginning the Narrows river hike above.)
Tip: Because this hike is so accessible, there can be a lot of people. Consider hiking early or late in the day for fewer crowds.
Read more on US national parks travel:
• Best western US national parks
• Amazing hikes in Yellowstone National Park
• What to do in Grand Teton National Park
6. The Subway
Distance: The Subway hike—from the bottom up— is 8.2 miles (13 km) in total (five to nine hours), 400 feet (122 m) descent from trailhead to the canyon, and gradual 600 feet (183 m) up the canyon.
Difficulty: Strenuous. Permit required. Takes approx 5 to 9 hours.
Description: It’s important to say that there are two ways you can do the Subway, and we are going to talk about the non-technical hike from the “bottom”. (The other way from the top down requires canyoneering equipment and experience).
The first thing you have to do is to get a permit. There is an advanced online lottery 2 months before your planned trip. You can also apply for last-minute drawing or try walk-in permits which become available the day before your trip date.
The Subway Trail begins at the Left Fork Trailhead. After the first half mile, there is a steep descent to the canyon. Once you are there, you only need to follow the trail all the way up. However, be ready for boulder hopping and hiking right in the stream course.
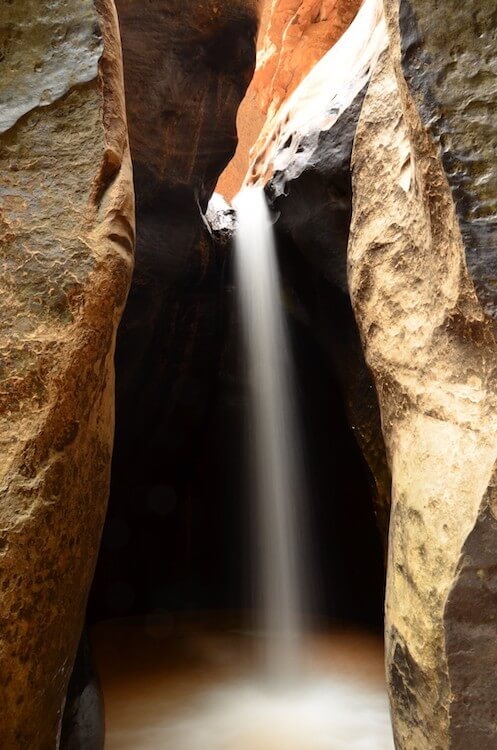
Tip: Right before the Subway, there is a beautiful cascade of waterfalls. Soon enough, you can see the dramatic section of the canyon, where the tubular oval has been cut out by the flowing water. This is a famous photo spot.
Adriana Plotzerová |Svatbeni.cz
7. Observation Point
Distance: 8.0 miles (12.8 km), 2148 feet (654 m) elevation
Difficulty: Strenuous. Takes approx 6 hours.
Description: Observation Point provides one of the best views in Zion National Park but is underrated compared to Angels Landing and the Narrows.
This trail is perfect for those who want to avoid the crowds at Angels Landing, but still want incredible views. From the Observation Point summit, you look across Zion Canyon. You can even look down upon Angels Landing!
This trail is incredibly strenuous, with some steep drop-offs. The most popular route starts at the Weeping Rock trailhead. You’ll climb steep switchbacks from the start up to Echo Canyon, the perfect shaded spot for a rest.
After passing through this shaded area, you’ll climb along sheer cliff edges to the top of Zion Canyon. After the climb, you’ll be rewarded with the views from the top of Observation Point, the best in the park.
Important note: The main trail to Observation Point from Weeping Rock Trailhead is currently closed after a rockslide. Observation Point can still be reached from the East Mesa Trailhead, a shorter 6.7 mile hike with only 695 feet of elevation.
Tip: Start your hike early to avoid afternoon heat and bring plenty of water.
Julia | Well Planned Journey
8. Pa’rus Trail
Distance: 3. 4 miles (5.4 km), elevation gain 157 feet (97.4 m)
Difficulty: Easy. Takes approx. 2 hours.
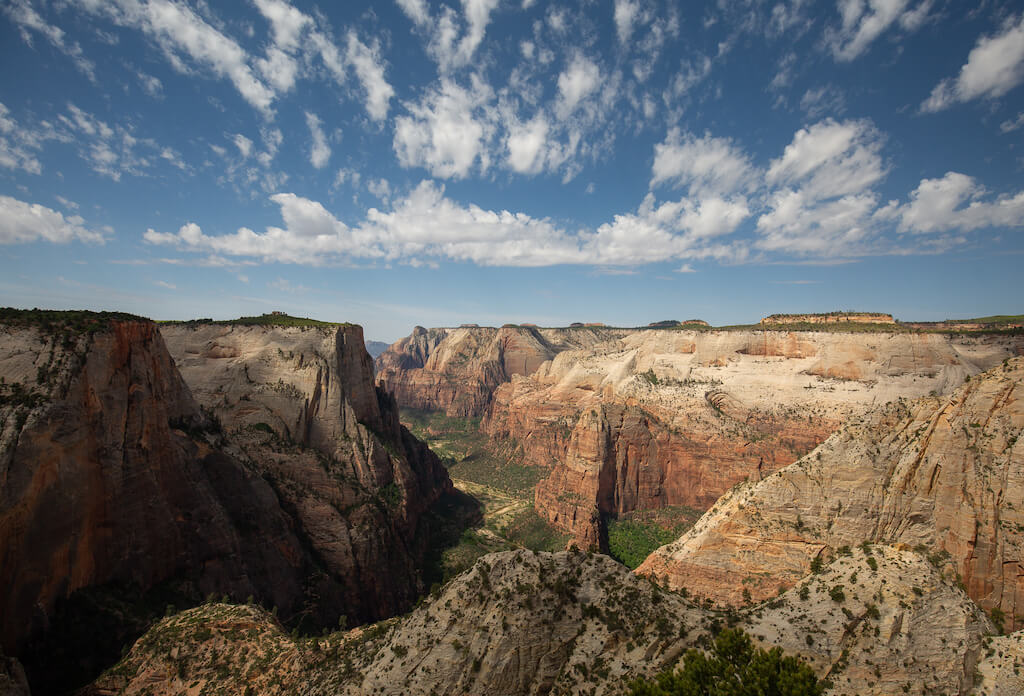
Description: Since the road is paved, it doesn’t exactly feel like you’re in the wild but the spectacular views make up for it. It’s also one of the best trails at Zion National Park if you’re cycling as it’s a shared use trail.
The trailhead is located right next to the visitor center and meanders up all the way to Canyon Junction. Along the way there are stunning views of the dramatic and colorful rockfaces on both sides. The elk deer like to wander through this area so it’s a good idea to keep an eye out for them.
The trail crisscrosses the North Fork Virgin river, allowing hikers to walk down in to the bank in several spots.
This beautiful view of river stones and the bubbling river leading up to the mountainous rocks is worth checking out. In fact, the word ‘Pa’arus’ is a Paiute word for bubbling water.
Tip: At the end of the trail is a roadway that crosses the water. This spot, called Canyon Junction, is a famous lookout for an iconic view of Zion National Park.
Come sunset, it will be packed with photographers trying to catch the fading glow through the canyon. It’s a dream location for any photographer, but be careful as the sidewalk is narrow and the road is open to traffic.
Shimona | Sidecar Photo
9. Scout Overlook
Distance: 3.6 miles (5.8 km) out and back; 1,115 feet (340 m) elevation gain
Difficulty: Strenuous
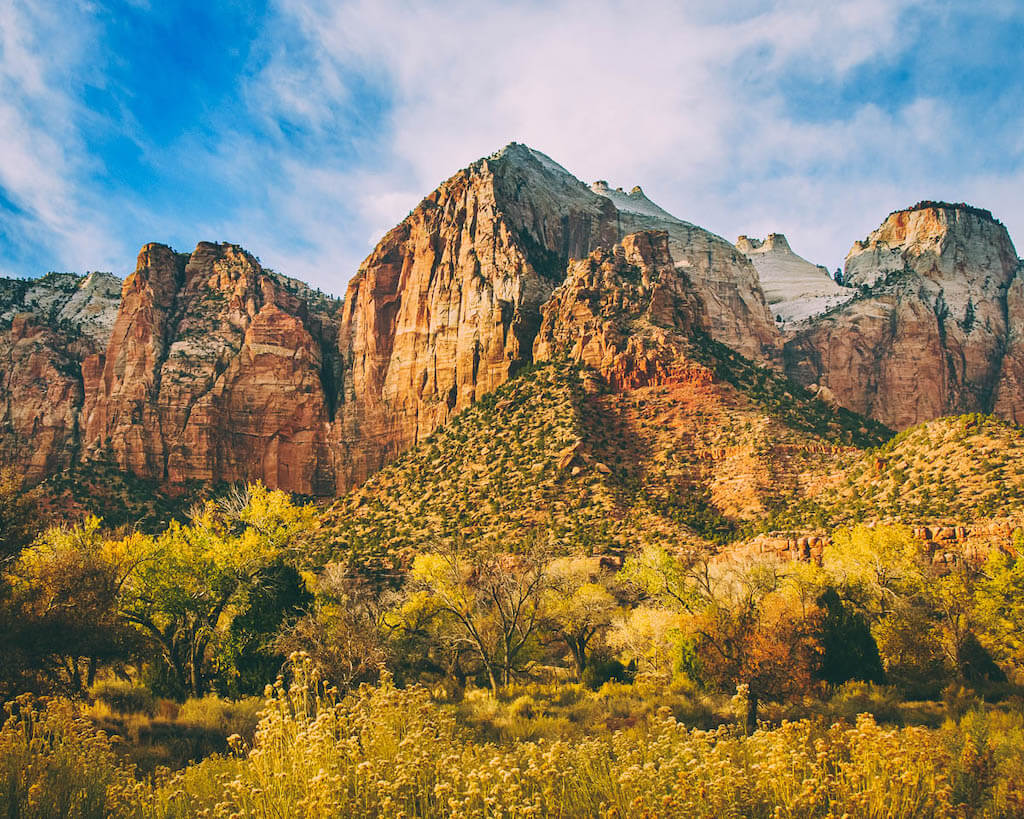
Description: If you’re looking for similarly jaw-dropping views as the famous Angel’s Landing hike, but aren’t sure you want to hang on to a chain over a narrow, exposed spine some 1,400 feet above the canyon floor below, Scout Overlook is a fantastic alternative to explore during your adventures in Zion National Park.
The trail begins on flat, sandy ground and quickly turns into concrete switchbacks, winding up a hillside. After the first initial climb, you’ll get a bit of a break as you make your way through a gorgeous canyon, with interesting rock formations and brilliant colors at every turn.
The final push to the top of Scout Overlook is a famous portion called “Walter’s Wiggles”, a series of 21 increasingly shorter switchbacks all the way to the top.
While your legs may be burning, the views at the top will make all your hard work worth it, with Angel’s Landing directly in front of you and the red walls of Zion towering above.
Tip: While portions of the trail are flat, it’s a fairly challenging trail and as such, it’s best to start this hike fairly early in the morning- there’s nothing worse than tackling switchbacks in the unforgiving midday sun!
Jessica | Uprooted Traveler
10. The Watchman Trail
Distance: 3.1 miles (5 km) out and back with 646 ft (197 meters) elevation gain
Difficulty: Moderate. Takes approx 2 hours.
Description: This great little trail is accessible from the Visitor Center (shuttle stop 1). Head up canyon across the road and then walk along the river to find the trail.
Be aware that this is uphill almost all the way to the top. Expect moderate drop-offs and be aware that all of this trail is very exposed. Wear a sunhat and bring lots of water or enjoy shade and beat the crowds by hiking early in the morning.
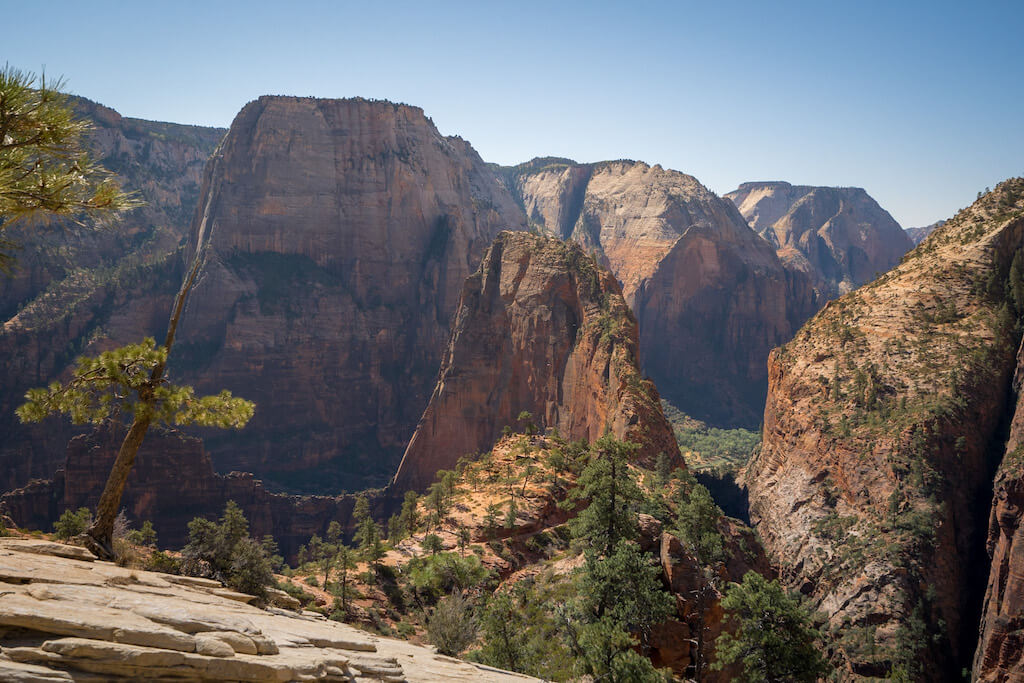
While you won’t hike all the way to Watchman Peak, you will find the perfect view point for lovely photos of it.
The hike ends with a phenomenal view of the Temples, Towers and lower Zion Canyon. You can see Watchman Peak from here as well and all of Springdale below. Hikers rave about the quality of the light and epic views in the early morning here.
Tip: Be aware that this trail can be very muddy after a rain.
11. Sand Bench Trail
Distance: 7.6 miles/12 km, elevation gain 500 ft/152 km
Difficulty: Moderate. Takes approx. 5 hours.
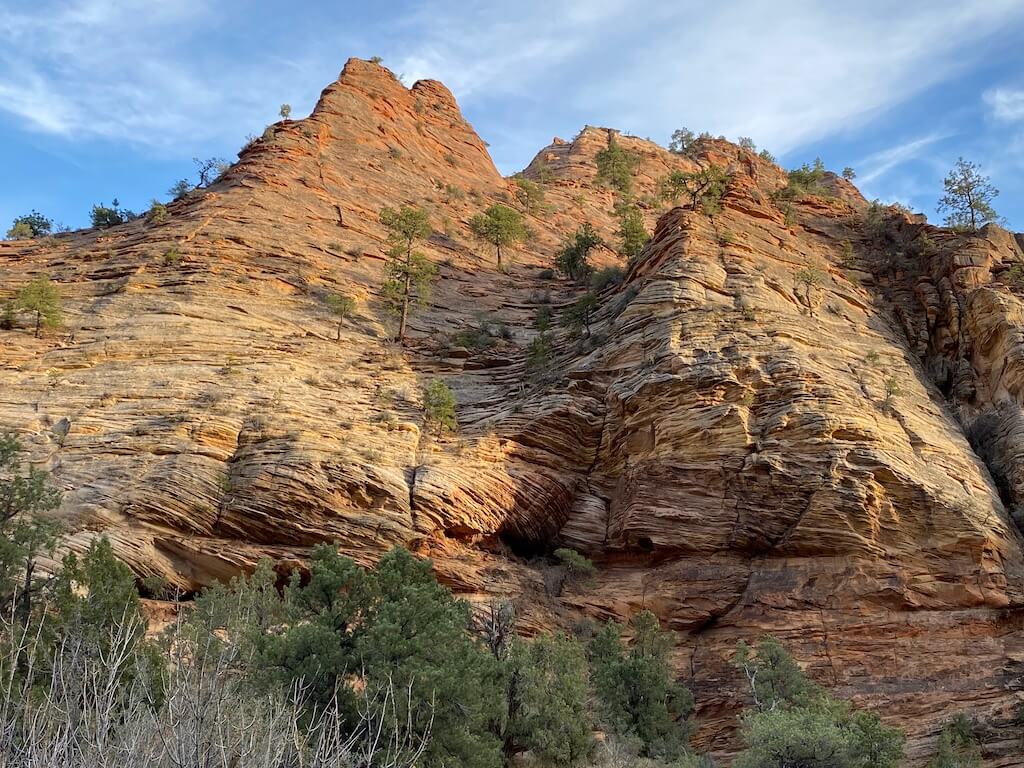
Description: The Sand Bench Trail is one of the most unique and underrated trails in the park. What makes it more challenging is that you’ll be walking over find orange sand through much of your hike here.
Plus, it includes plenty of boulders to scramble over. Start this hike at Zion Lodge. It’s a great option if you’re looking to explore Zion Canyon with fewer crowds. You’ll enjoy fabulous views of The Sentinel and Court of the Patriarchs.
Tip: Keep a lookout for horseback riders. That’s right: This is a trail designated for guided horseback rides. What a great idea!
Pin it for later!
Leave a Reply